How to Upload an Auto Attendant Announcement.

Modified on Thu, 13 Jul, 2023 at 10:36 AM

How to Configure and Save Attendant Announcements


1. Navigate to https://control.nuso.cloud/bg/login.html


2. Enter your number.

Screenshot of: Enter your number.


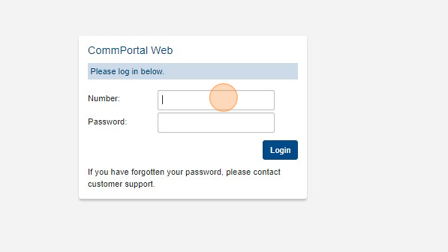
3. Enter your password.


Screenshot of: Enter your password.


4. Click Login.


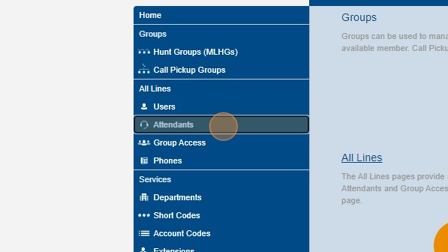
5. Click "Attendants"


Screenshot of: Click "Attendants"


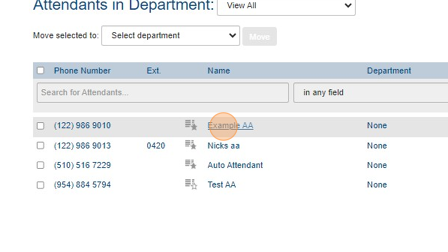
6. Click on the AA you would like to adjust.


Screenshot of: Click on the AA you would like to adjust.


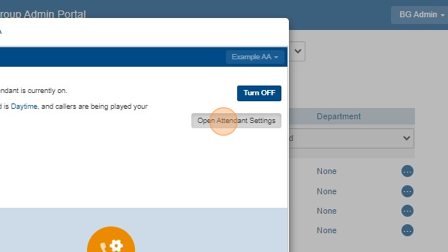
7. Click "Open Attendant Settings"


Screenshot of: Click "Open Attendant Settings"


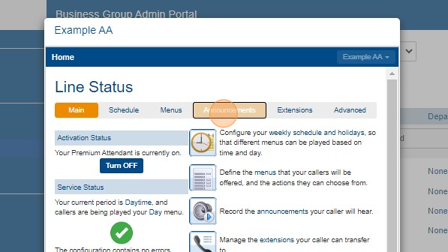
8. Click "Announcements"


Screenshot of: Click "Announcements"


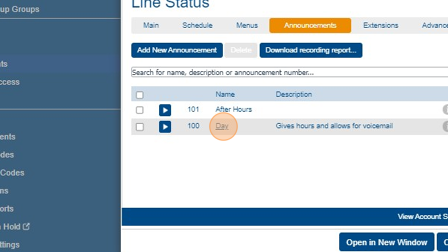
9. Click the message you are wanting to update/replace. (If adding a new announcement press "add new announcement".


Screenshot of: Click the message you are wanting to update/replace. (If adding a new announcement press "add new announcement".


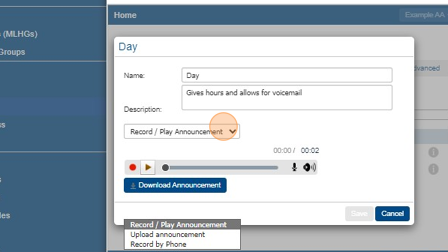
10. Click this dropdown and select upload announcement.


Screenshot of: Click this dropdown and select upload announcement.


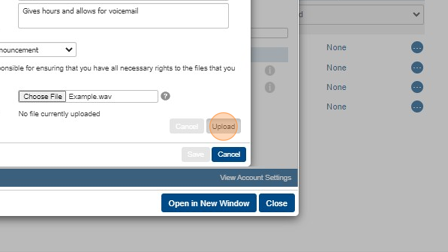
11. Click this file field and select the file recording you would like to use.
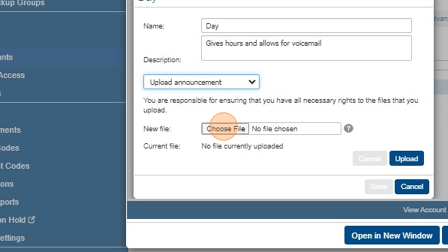
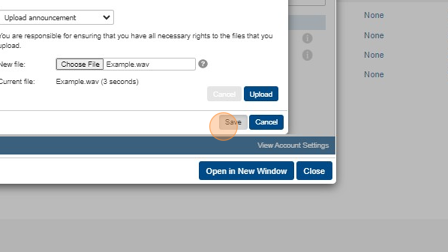


Screenshot of: Click this file field and select the file recording you would like to use.


12. Click "Upload"


Screenshot of: Click "Upload"


13. Click "Save"


Screenshot of: Click "Save"


Was this article helpful?

That’s Great!

Thank you for your feedback

Sorry! We couldn't be helpful

Thank you for your feedback

Let us know how can we improve this article!

Select at least one of the reasons
CAPTCHA verification is required.

Feedback sent

We appreciate your effort and will try to fix the article